Happy Wednesday Friends!
Are you counting down to Christmas holidays yet? I sure am! Two and a half days to go and then I can crack open a good book, get out a puzzle, sleep in, and eat goodies without counting calories! We are hosting Christmas for the first time ever…. so excited to have my side of the family come next week!
In case you’ve missed it, last week was a super fun week for me! On Monday I kicked off my Holiday Home Tour! A tour that featured 19 bloggers and tours around their home. So glad for this wonderful group of ladies that teamed up with me to bring you this tour…. you can check out my Cozy And Simple Christmas Home Tour here and the links to the other homes are there as well!
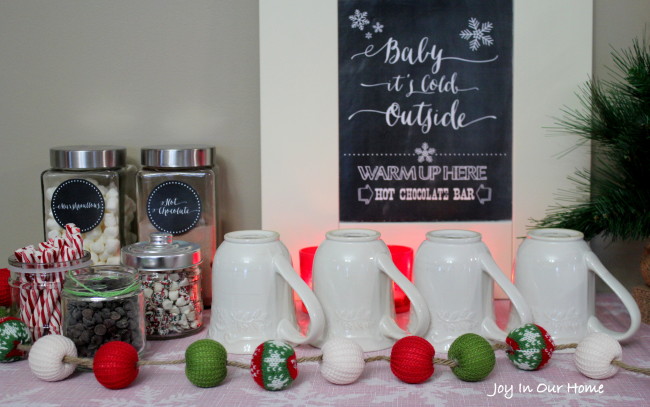
Here is a little sneak peek of our Hot Chocolate Bar… you can check out the rest of the tour here!

I’d love to show you a super easy wreath I made! I’m not sure about you, but everywhere I look these days I see boxwood wreaths. They are popping up all over Instagram and in blogland and I’m totally crushing on them! Most of them seem to come from Trader Joes… but unfortunately, I’d have to drive a day or two to get to one. I searched around in other stores and no luck. So what’s a DIY’er got to do but make one??
You will need:
- one Styrofoam wreath from Michaels (the size of your choice)
- burlap
- one 9foot strand of greenery from Michaels (I used a 50% coupon so it was about $10)
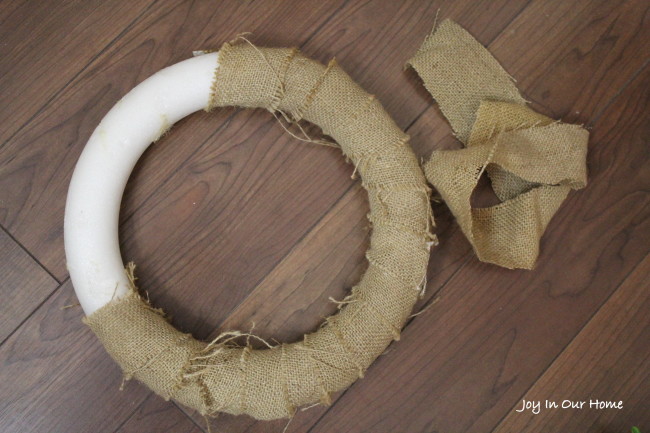
I have a gigantic piece of burlap that I picked up in the summertime at a thrift store. It’s been so handy for all sorts of projects, like my Burlap Rose Garland I shared a few weeks ago. So first, I cut pieces of burlap approximately 2.5inches in width. Don’t waste your time trying to cut the strips exactly straight… it won’t matter in the end! I used my favoritest crafting tool ever, my trustworthy glue gun to secure the burlap to the wreath. Keep wrapping the burlap around the wreath, securing it with glue every few turns.
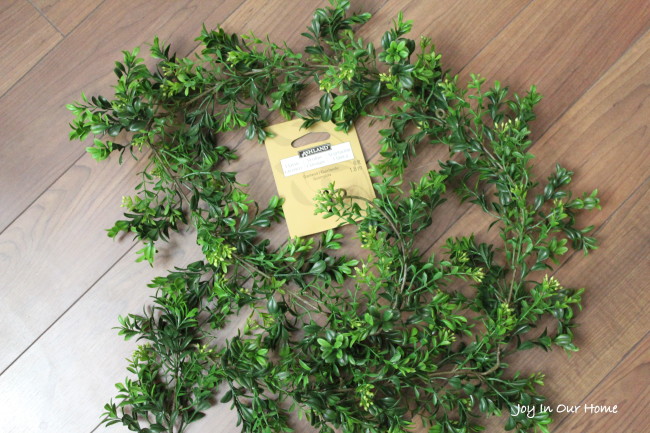
This is the garland I used for my wreath…
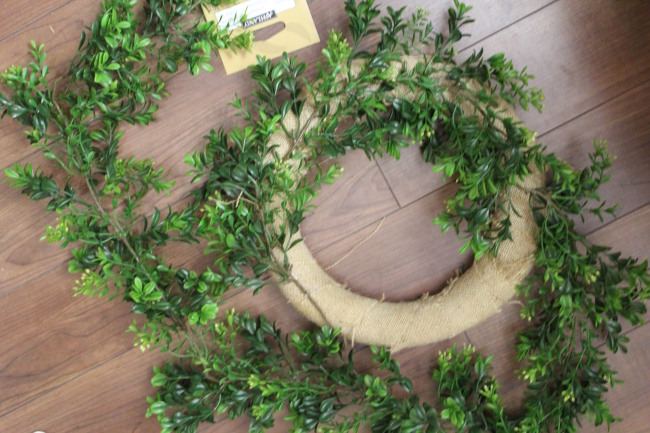
Once the Styrofoam is all covered with burlap, I wrapped the garland around the wreath, using hot glue to secure it. I was only able to glue one round on, as the garland is too “bulky” to be able to be glued to the wreath. Upon wondering how on earth I’d secure the rest of the greenery, I remembered that I had some invisible thread! It worked perfectly! I wrapped it around several times until the greenery was in place and that was it! For a hanger, I used a strip of burlap and tied it around the top, securing it with glue.
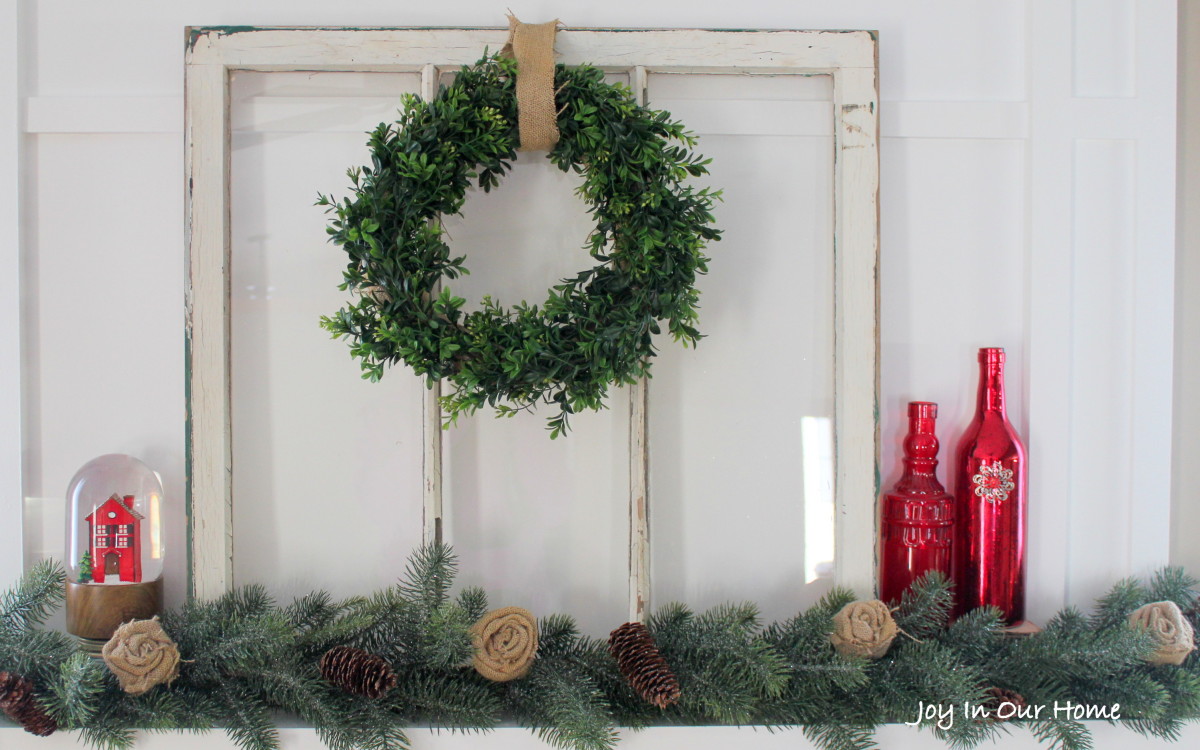
I love how it looks on our fireplace mantle! Have you made any wreaths this season? I’d love to see them… please leave me a comment below and I’ll be sure to stop by!
Thank you so much for coming by… hope you all have a great rest of the week! And don’t forget to stop by tomorrow and link up at Your Turn To Shine!
-Kendra
Linking to these fabulous parties:
Your Designs This Time, Time To Sparkle, On Display Thursdays, Tuesdays At Our Home, Motivational Monday, The Dedicated House, The Makers Link Party, Party In Your PJs, Hit Me With Your Best Shot, Whimsy Wednesday, Moonlight and Mason Jars, Work It Wednesday, Pin Worthy Wednesday, Wednesday Roundup, Artsy Fartsy Link Party, Inspire Me Please, Grace At Home, Creative Collection, Weekend Wind-down Party, Best of The Weekend, Super Saturday, Frugal Crafty Home Blog Hop, Share It Sunday, Talented Tuesdays,