A simple way to add farmhouse charm around your home! 
It’s the second Wednesday of the month and that means it’s time for another Monthly DIY Challenge! 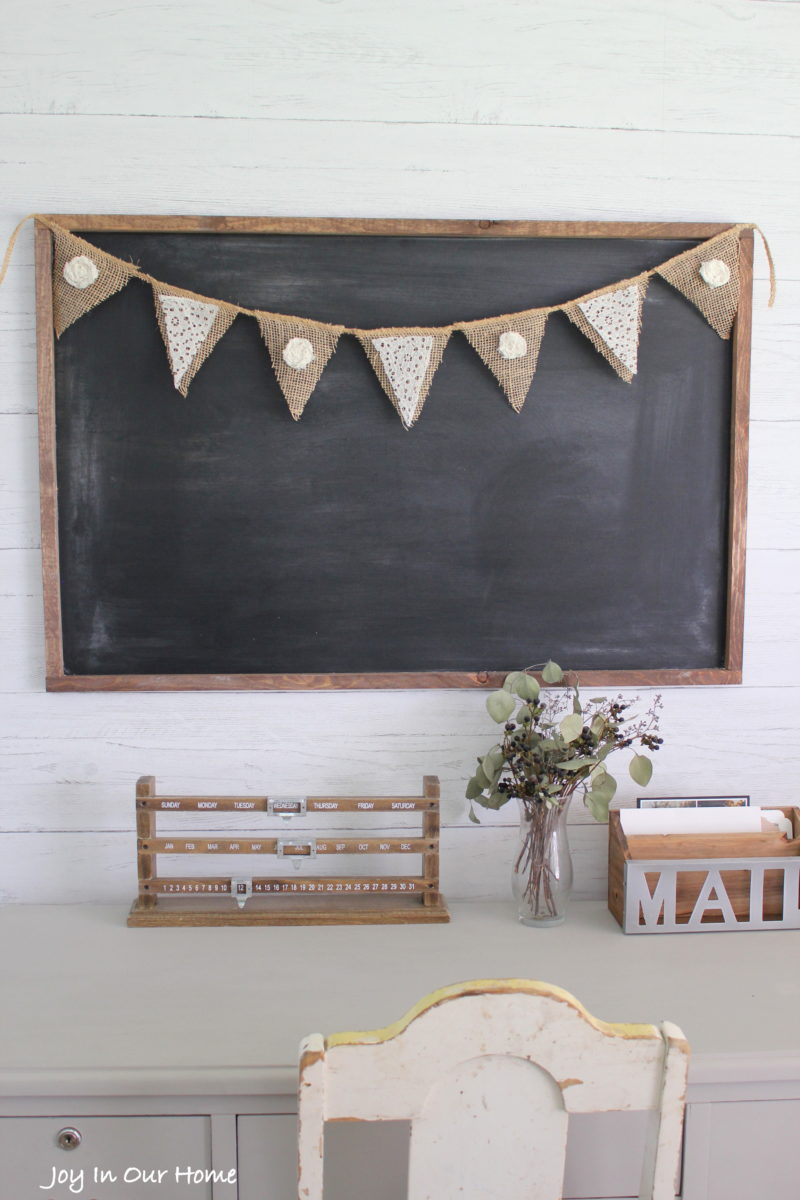 Often we use the same item but other times we do themed challenges and see what we each can come up with! This month it’s all about burlap! We teamed up with a blogging friend, Kenarry |Ideas For The Home and we’re using the burlap she recently started selling on amazon.
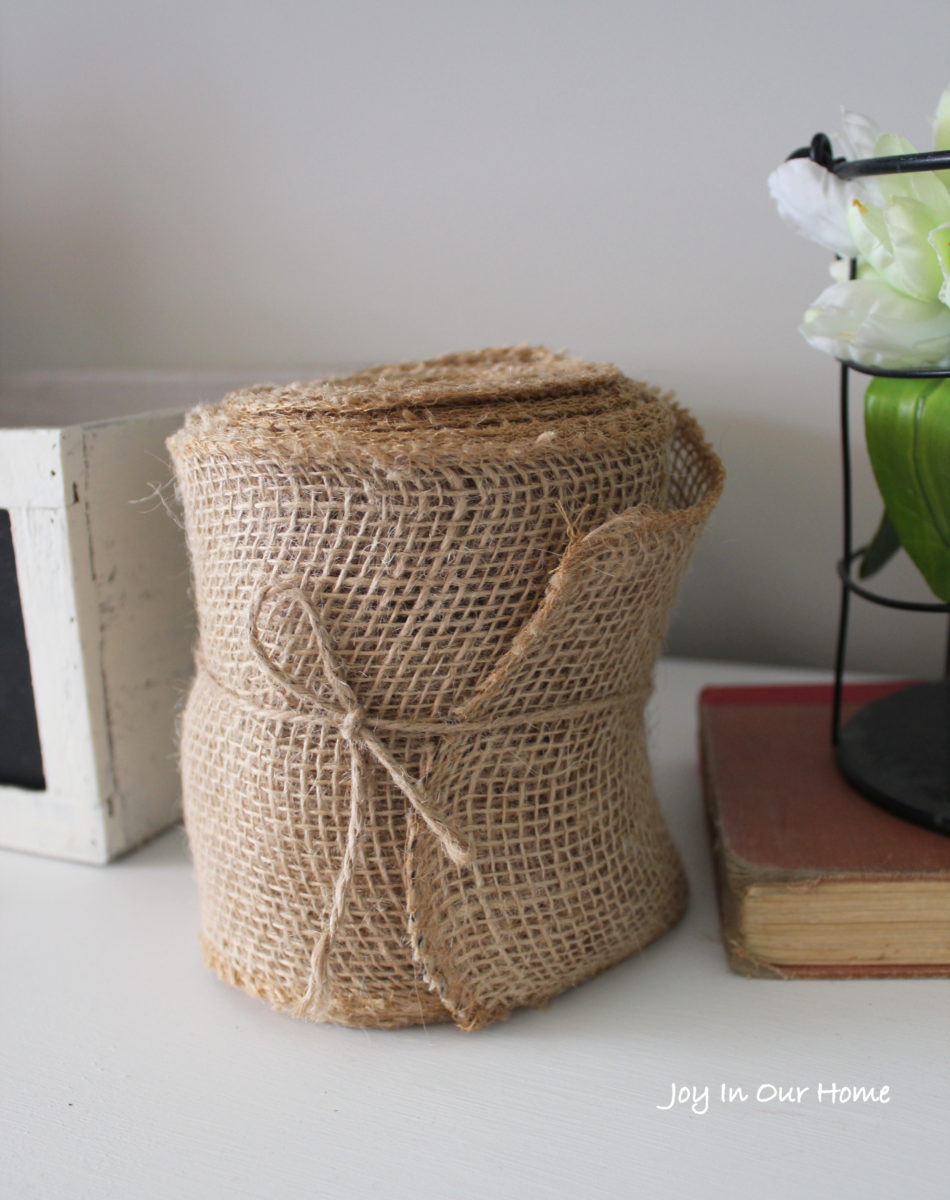
(This post was sponsored and contains affiliate links. All opinions are totally mine own and I only share products that I use in our home and love! Please see my full disclosure and privacy policy here.)
As I was looking around our home I noticed a few things I’d made using burlap. Some of them are seasonal and then others I leave out year round. This Burlap Rose Garland is still one of my favorites. 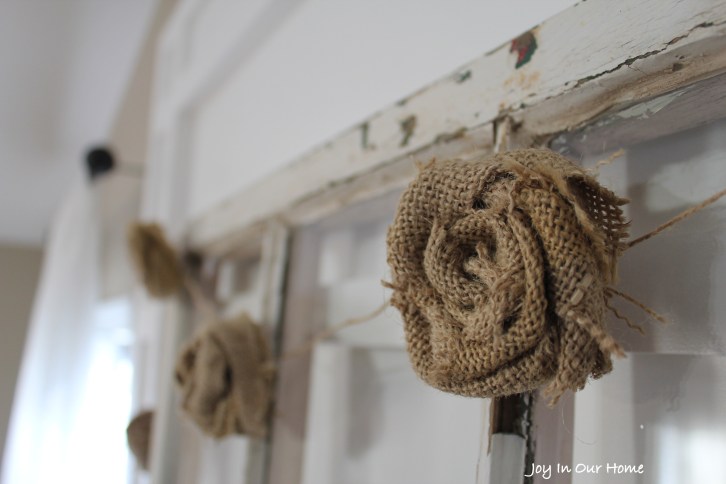 I’ve used it in many different places like this antique window! And then there’s this Burlap Photo Frame Display that still sits on the window sill of our kitchen sink.
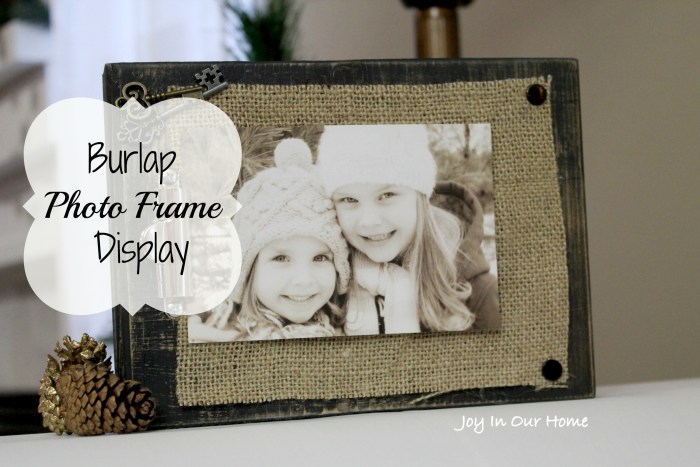 It’s so easy to switch out pictures with the attached clip and I always have a photo in there that’s dear to me. Another way I used burlap is for one of my most popular DIYs and that’s my Burlap and Berry Wreath.
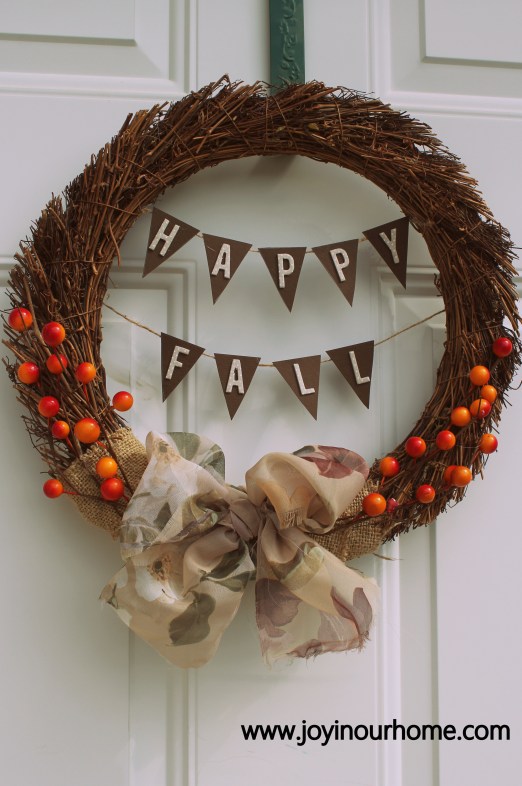 While we’re still enjoying summer to the fullest, I know this wreath will be making its appearance before too, too long! I was also noticing that I used burlap to hang our DIY Boxwood Wreath.
 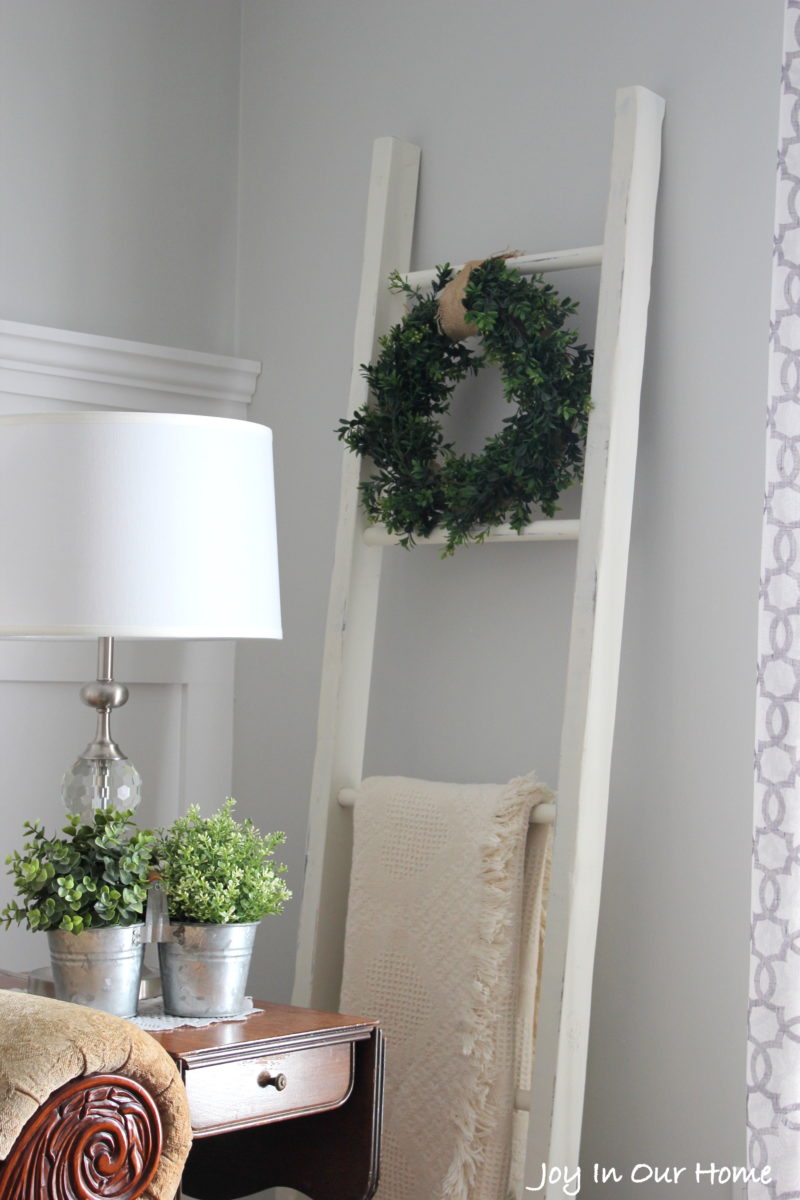 Seriously friends, the ways you can use burlap are endless.
Burlap has been around for a few years now and I don’t think it’s going anywhere soon. Whenever I’d think of burlap I would think of farmhouse or country décor but I love that for our #monthlydiychallenge we’ve each come up with something that suits our different styles for our home!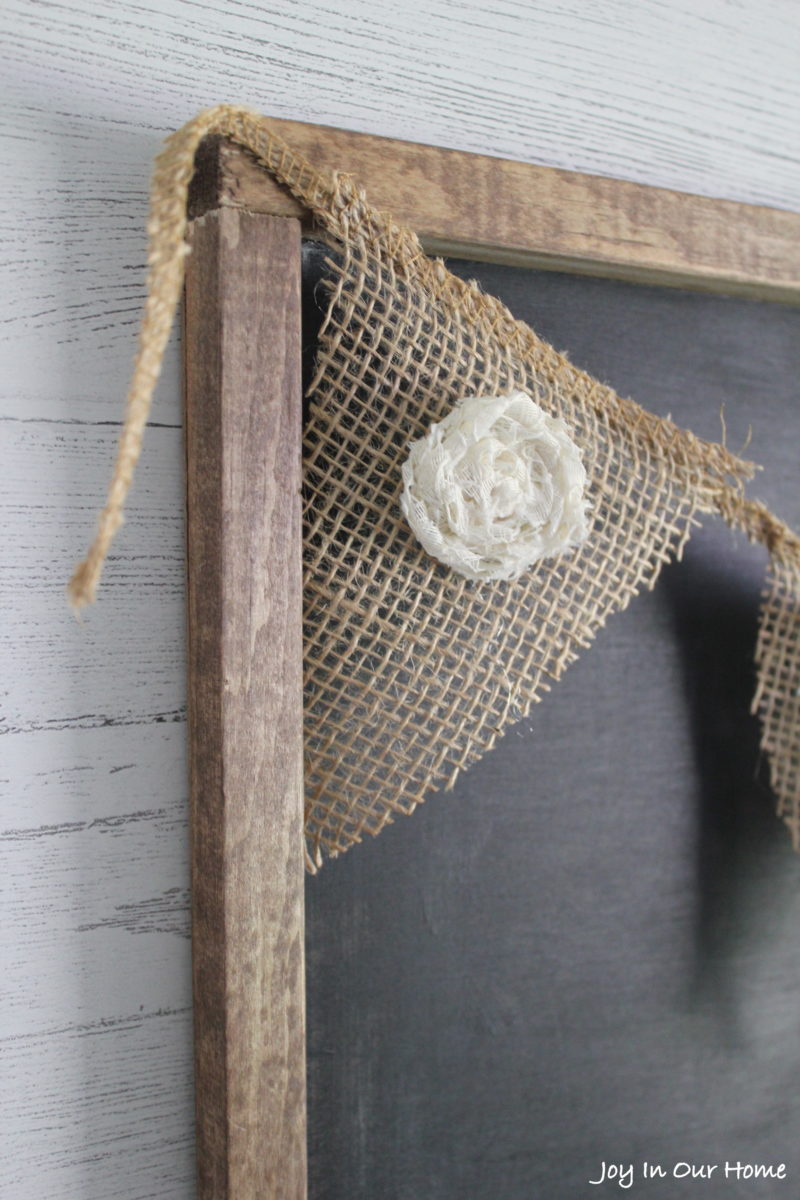
I’m excited to show you how I made a Burlap and Lace Banner that’s the finishing touch on my new chalkboard by husband made for me in our new Farmhouse Office!
- Supplies:
- burlap
- fabric scissors
- lace
- glue gun & glue sticks
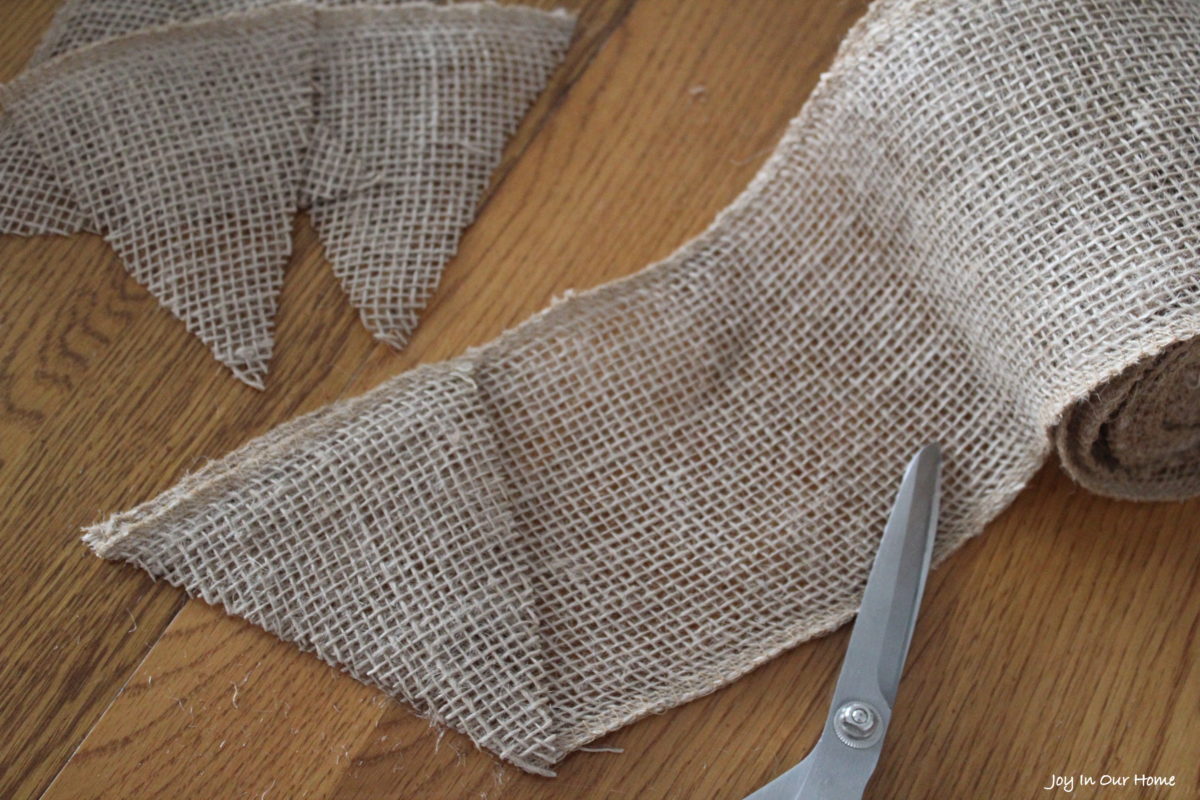
I first made a triangle template out of cardstock and cut out 7 burlap triangles. I then cut out smaller sized lace triangle because I wanted to alternate between lace fabric roses and triangles.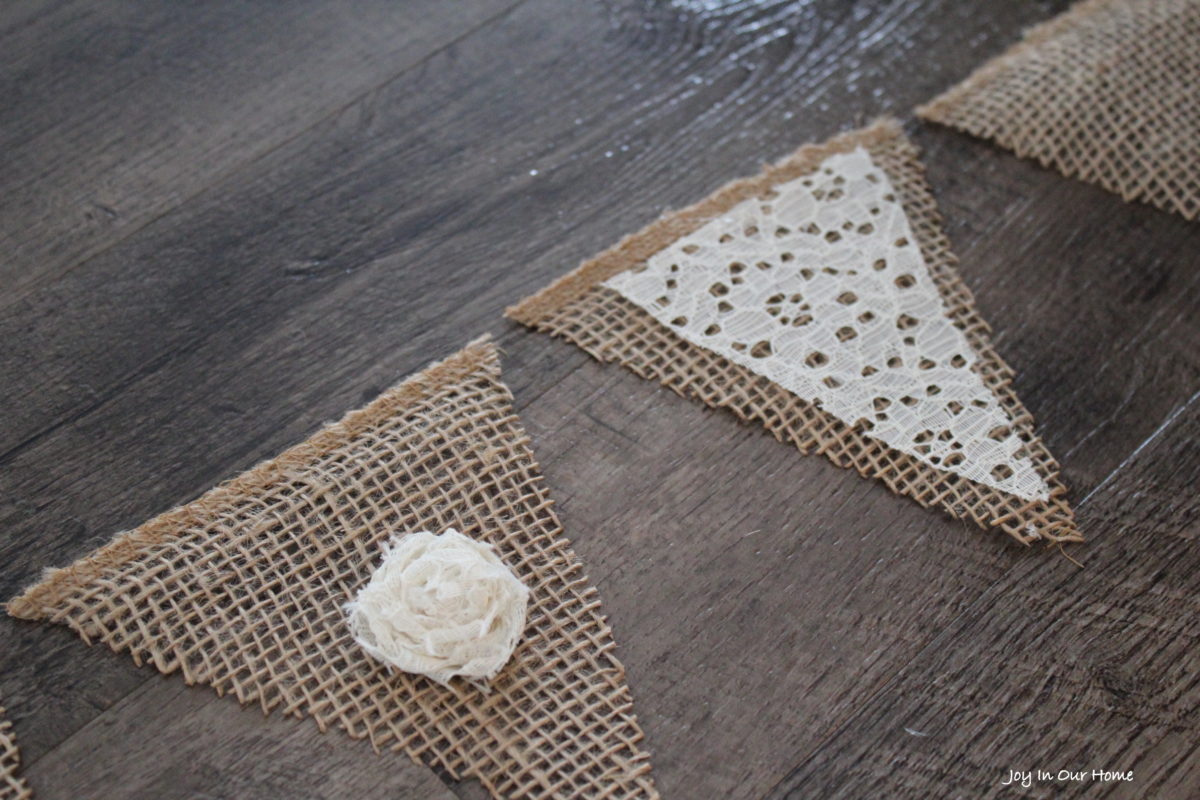
The fabric roses are quite fun to make and are such a cute addition to many projects. I used to make and sell little girl hair clips and they were some of my most popular style.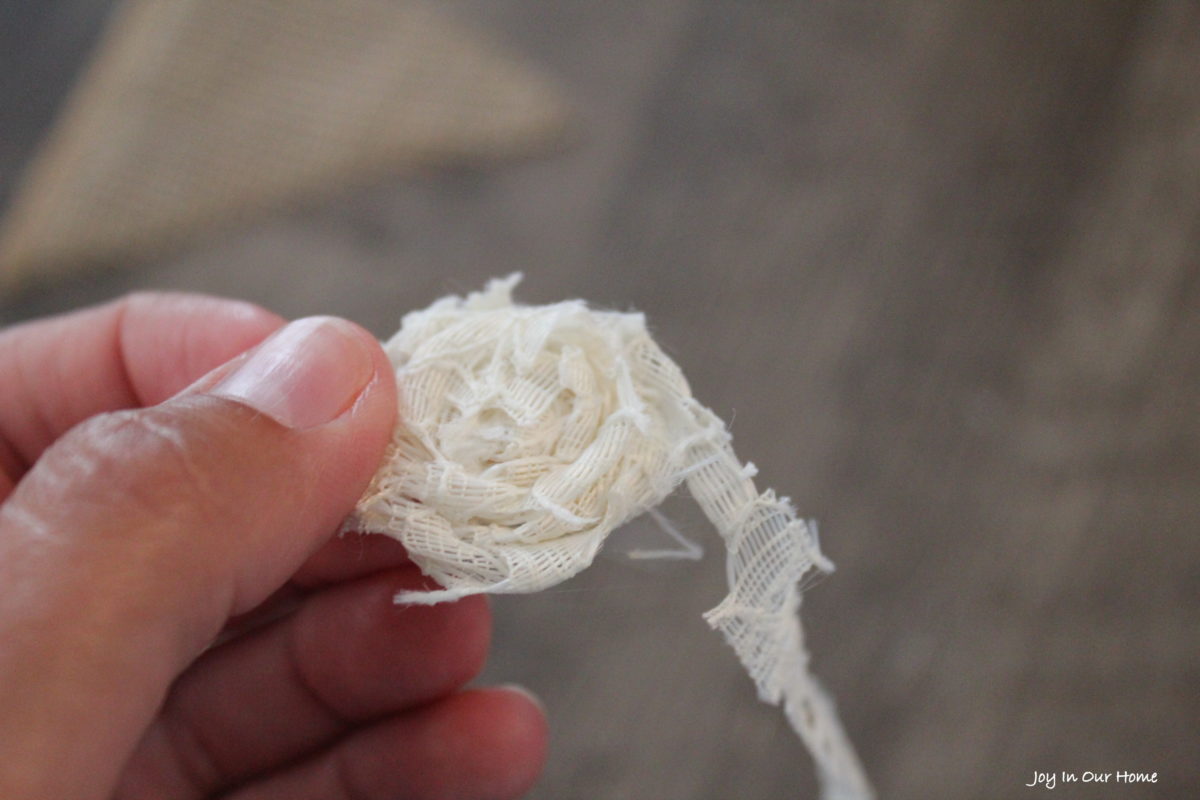 I used the same lace as I did for the triangles and using the fabric scissors (they are really a lifesaver when cutting fabric!!) I cut 4 strips that were 24″ long and about an inch wide. (Exact measurements aren’t a ‘must’ as you’ll find out when making these cute little things!) I knotted one end of the strip of lace and then twisting the lace around numerous times, I started coiling the strip of lace around then knotted end. About once every turn, using my glue gun, I dabbed a tiny piece of glue on to secure it. Keep coiling it around and gluing until your rose is complete. You can cut off the end or glue it to the back.
Using the glue gun I glued the lace triangles and roses to the burlap triangles.
To hang the burlap triangles, I cut of some edging from the roll of burlap to use as my “hanger”. Again, I used my glue gun to attach the triangles and was done! 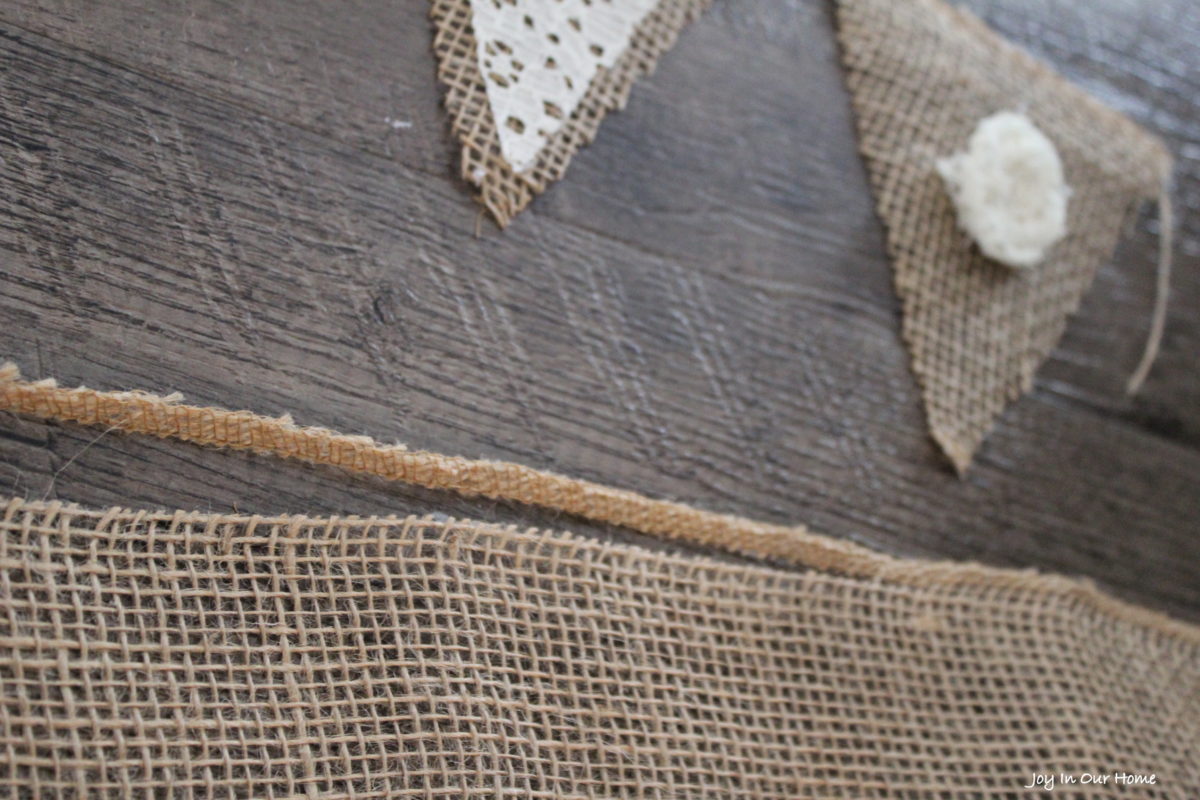
I love how it turned out and seems to be just what my chalkboard needed! I have lots of burlap left on my roll and look forward to using it many more times on simple DIYs around our home! With fall and then Christmas approaching, I know it’ll fit into my farmhouse décor so well!
Thanks so much for stopping by today friends and hope you enjoy checking out the rest of these burlap DIYs below!!
