Hello Friends!
Hope you’re all having a lovely week! We had a wonderful Mothers Day weekend! Those little handmade gifts and cards truly are the best…. I remember my mom always saved whatever we made for her in school and now I do the same. I will always treasure them!
Today is our Monthly DIY Challenge that a few of my wonderful blogging friends and I do each month. Most months we have a theme of some sort… like dollar store items, plumbing pieces, wood slices, etc. but this month we left it a bit more open. We decided to take something that would normally end up in the trash and make it something special or pretty for our home. Trash to Treasure!
(Before I get started on the tutorial for this post, just in case you’re not up to DIYing a barn door yourself, check out the bottom of my post where I’m sharing White Shanty’s beautiful handcrafted barn doors! I realize not everyone is interested in making your own so this is a great alternative!!)
I have been admiring barn doors on Pinterest for sooo long and I’m so excited to show you ours! So happy how it turned out….
But first, let’s take a sneak peek at all of the projects for this month….
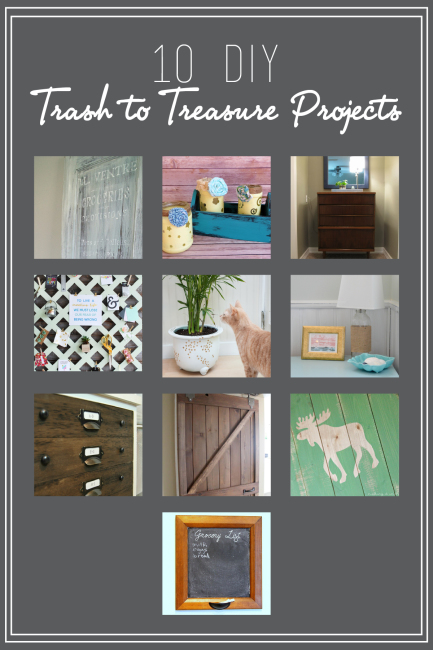
All the links will be posted at the very bottom so make sure you check them all out!

I think one of the most exciting things about this door is how little it cost to make, but only because we upcycled materials. It cost a whopping $5…. that is, until we bought the door handle for it, which cost more than the door itself! LOL! Let me show you how…
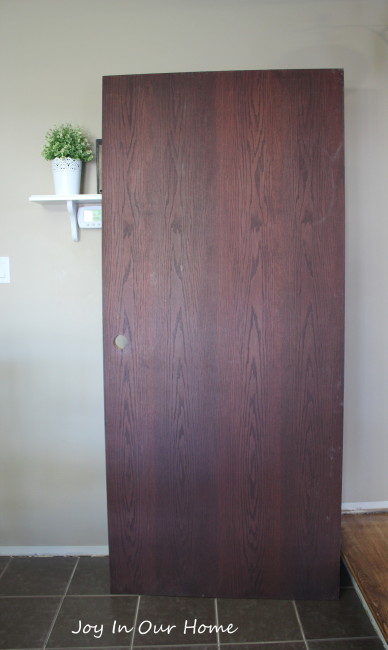
We started out with this door from the Restore. They had a bunch of older doors in different price ranges. This one was in excellent shape and was $5! We grabbed it and got started!
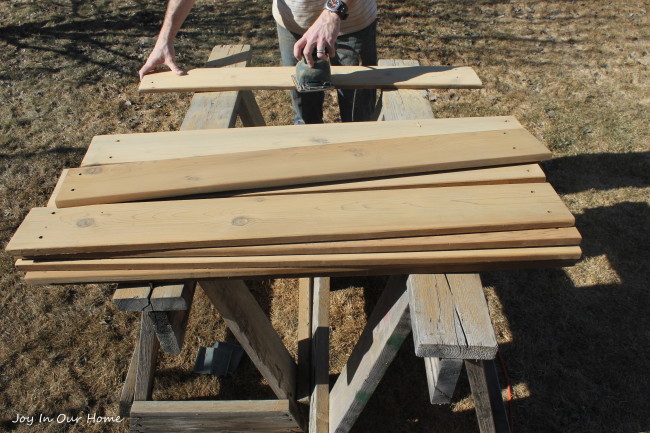
The wood we used for the door is actually deck railing boards. Last year we redid our deck and installed maintenance free rails. Of course, as DIYer’s we stored the deck boards behind the shed because you never know when you’ll need scrap wood for a project! They were stained cedar boards so my husband first removed all the nails and sanded them down till they were completely smooth.
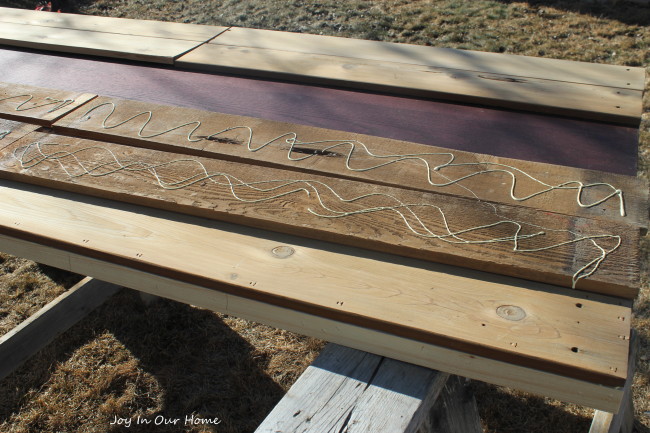
Next, he glued them onto the door…..
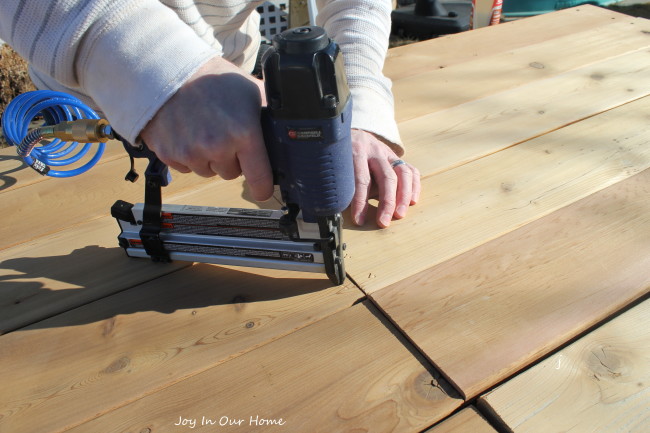
and then using a nail gun, he nailed them down to secure them!
I then gave the door a good wash to get rid of all the dust from sanding. (Are you noticing that I get the easy jobs on this projectt?? lol! Sure seems like my husband did the brunt of this project…. and he totally did! I don’t know what I’d do without him! We make an awesome team!)
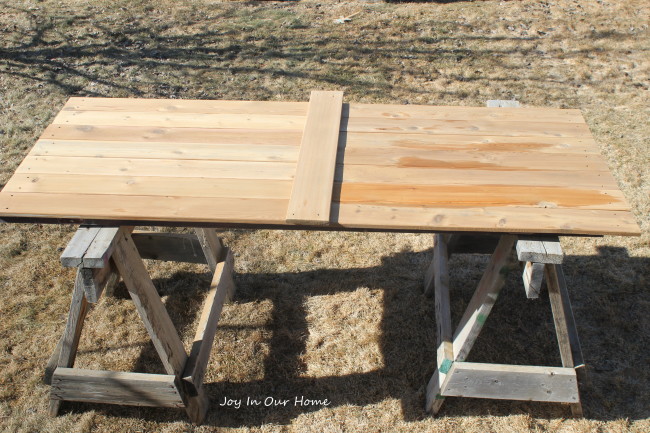
Before I get ahead of myself, as you can see in the above picture, my husband nailed a piece of the salvaged wood to the middle of the door. This is where the boards join so now the joins are hidden!
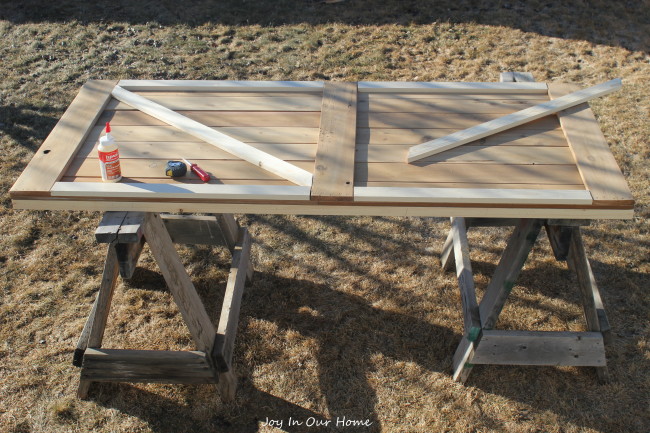
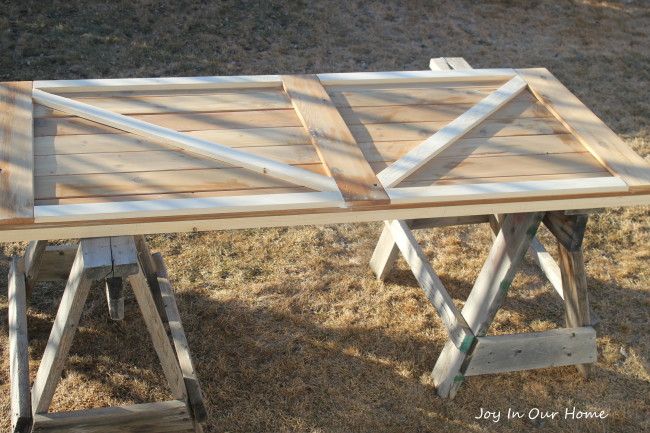
There are many different styles of barn doors with varying cross pieces. This is the style we liked best. Getting the angles just right was a big of a challenge. He then nailed them down.
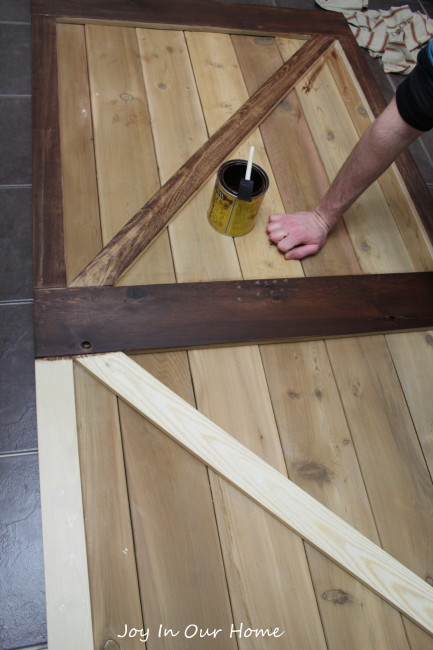
For the stain, we used leftover from when we redid our hardwood floors last summer. The color is “special walnut” by Minwax.
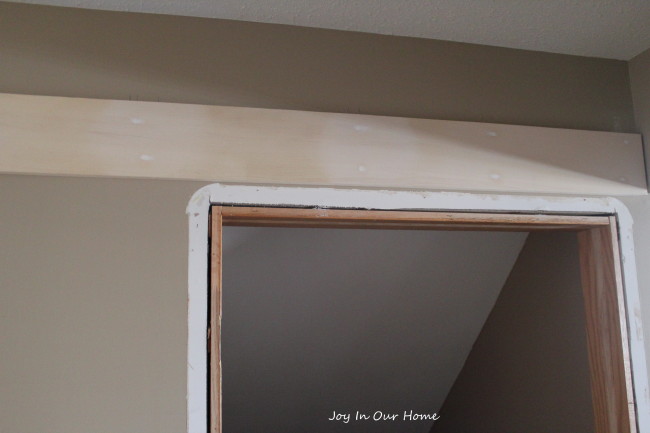
Because the sliding door would catch on the trim, we added a piece of 1X6 pine where the track would be installed. We painted it the color of our walls and it blends right in.
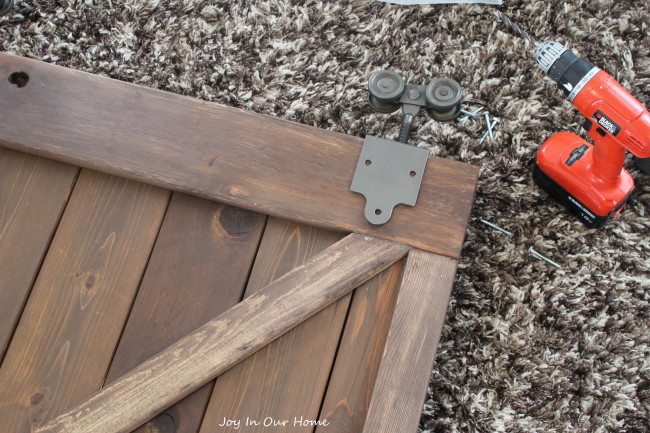
We looked on Pinterest for different options for the hardware. If you’re handy with metal (or know someone who is), buying the supplies and making your own is an option. We decided not to go that route and ordered the kit that Home Depot sells. In the meantime, we had our friends who are ranchers, over for supper. We got talking about the barn door and he said he had a track and hangers at home in a barn! He had bought some farm stuff at an auction a while back and this was included and he had no use for it! We were so, so happy! These friends are the best… in more ways than one!
The track was a bit rusty and covered in cobwebs but nothing a little Rustoleum spray paint can’t fix!
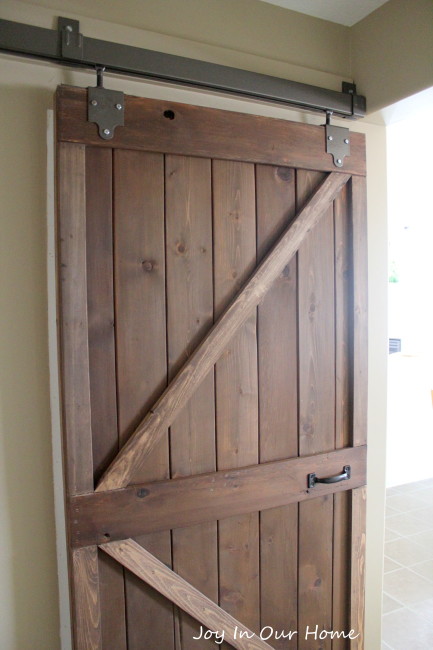
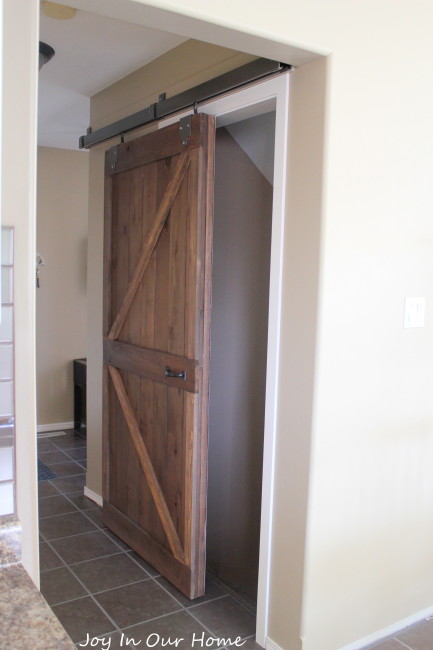
This doorway leads to our downstairs and we used to have a normal door hanging there. We didn’t like the door closed but when it was left halfway open it blocked off that hallway. It was the perfect spot to put a barn door!
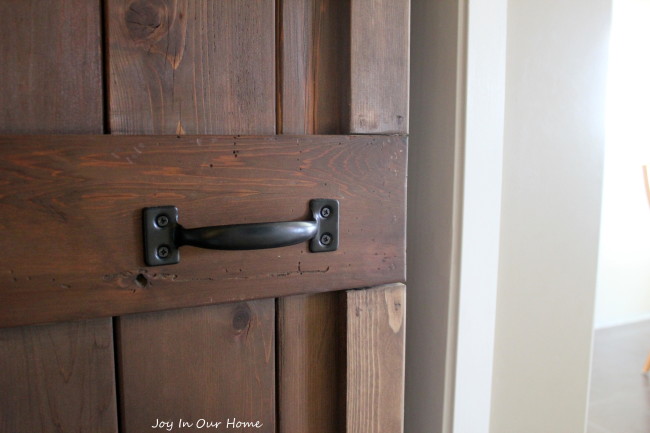

Love the distressed look of the boards!
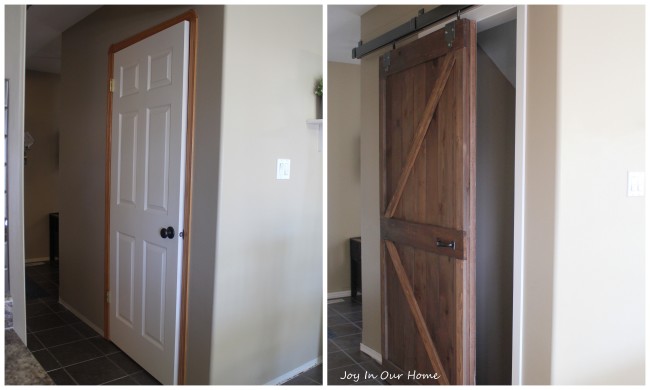
And just because its always fun to look back at the before pictures, here is what it looked like before. We have only had it installed for about a month but have gotten soo many compliments already! Its totally practical and looks perfect for this doorway!
And now I want to chat a bit about White Shanty – the largest sliding barn door manufacturer company in America. They sell high quality handcrafted sliding barn doors in so many beautiful styles and designs. We completely understand not everyone wants to make their own so it is wonderful to have an alternative. As I was pouring through their site, there was SO many that caught my eye… seriously! They have many wooden barn doors to choose from and they are handcrafted with real wood and made in the USA. The 4 Panel Shaker Barn Door is one of my favorites- I am a big fan of dark wood and the panels add some extra detail to any room. Their closet barn doors are also so functional for many areas of your home including ensuites, closets, pantrys or basement storage rooms. The Hudson Sliding Barn Door is a beautiful choice of simplicity and classic.
There are so many styles and options available. Whether your home is farmhouse, rustic or a modern style or if you’re looking for by-pass doors, metal or glass barn doors or double barn doors, White Shanty has them all! They also have a great selection of handles and hardware to suit your style. Be sure to head over to their site and check them out. Until January 31, they have free shipping, plus 5% off!!! Or you can use coupon code
Thanks so much for stopping by today!!
